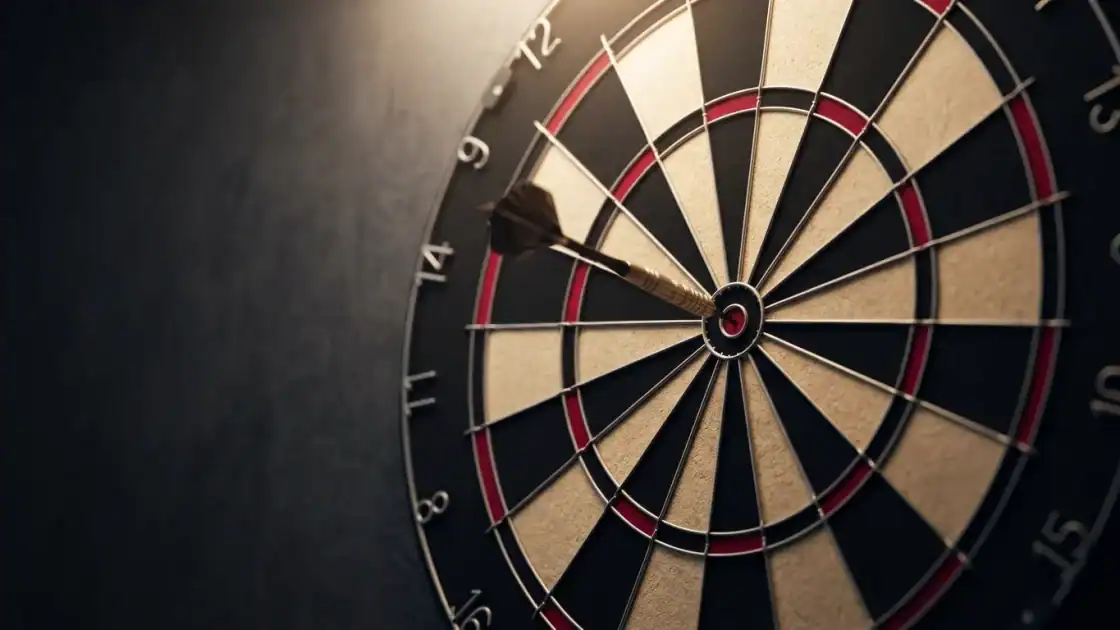
QUICK ANSWER
Cork board, wire, paint. One afternoon. Under £15.
Cut a 451mm circle from thick cork. Mark 20 segments with a protractor. Press wire dividers into the surface. Paint alternating black and white. Glue to an MDF backing. Mount at 1.73m. It won’t match a shop-bought sisal board for durability, but it is genuinely playable – and you built it.
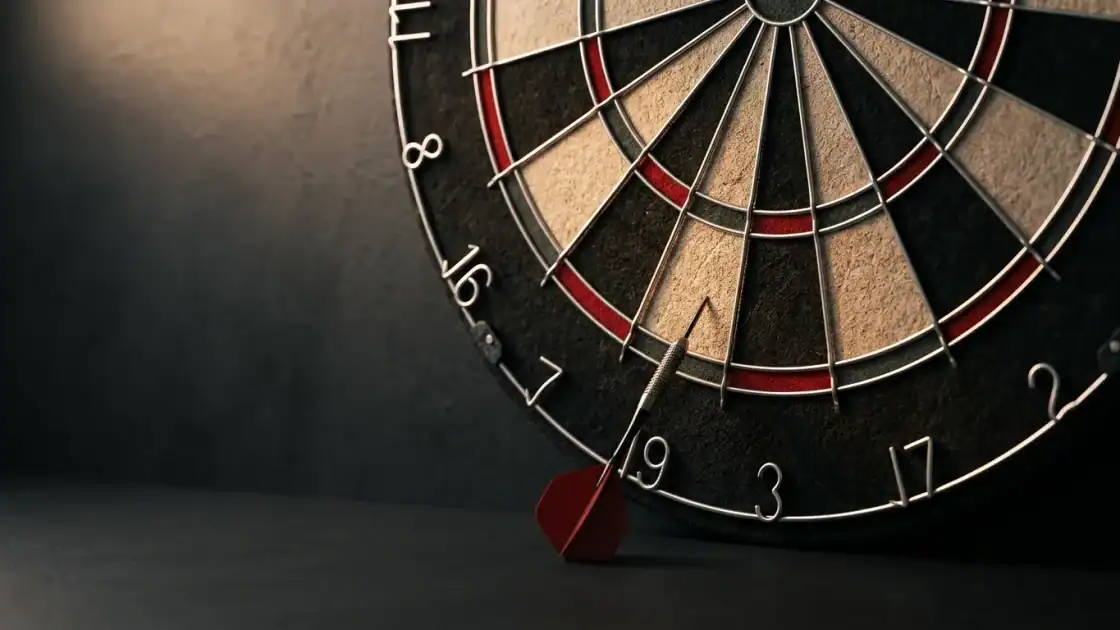
A bristle dartboard costs £30-50 (~$40-65). Making one from cork costs about £10-15 (~$13-20) in materials and takes a single afternoon. The result won’t self-heal like sisal and it won’t last as long. But it works for casual games, it teaches you exactly how a dartboard is structured, and there is something satisfying about throwing at a target you made yourself.
This guide shows you how to make a dartboard in 8 steps. If you decide the DIY route is not for you, our dartboard buying guide covers what to look for in a proper sisal board instead.
What You Need
Materials: cork board (minimum 38mm thick, 500mm square – £5-8 / ~$7-10), MDF backing board (500mm square, 9-12mm thick – £3-5 / ~$4-7), garden wire or thin steel wire (3 metres, 1-1.5mm diameter – £2-3 / ~$3-4), acrylic paint (black, white or cream, red, green – £4-6 / ~$5-8), wood glue, sandpaper (medium grit), masking tape, string, a pin, and a pencil.
Tools: jigsaw or sharp craft knife, ruler, protractor, pliers, small paintbrush.
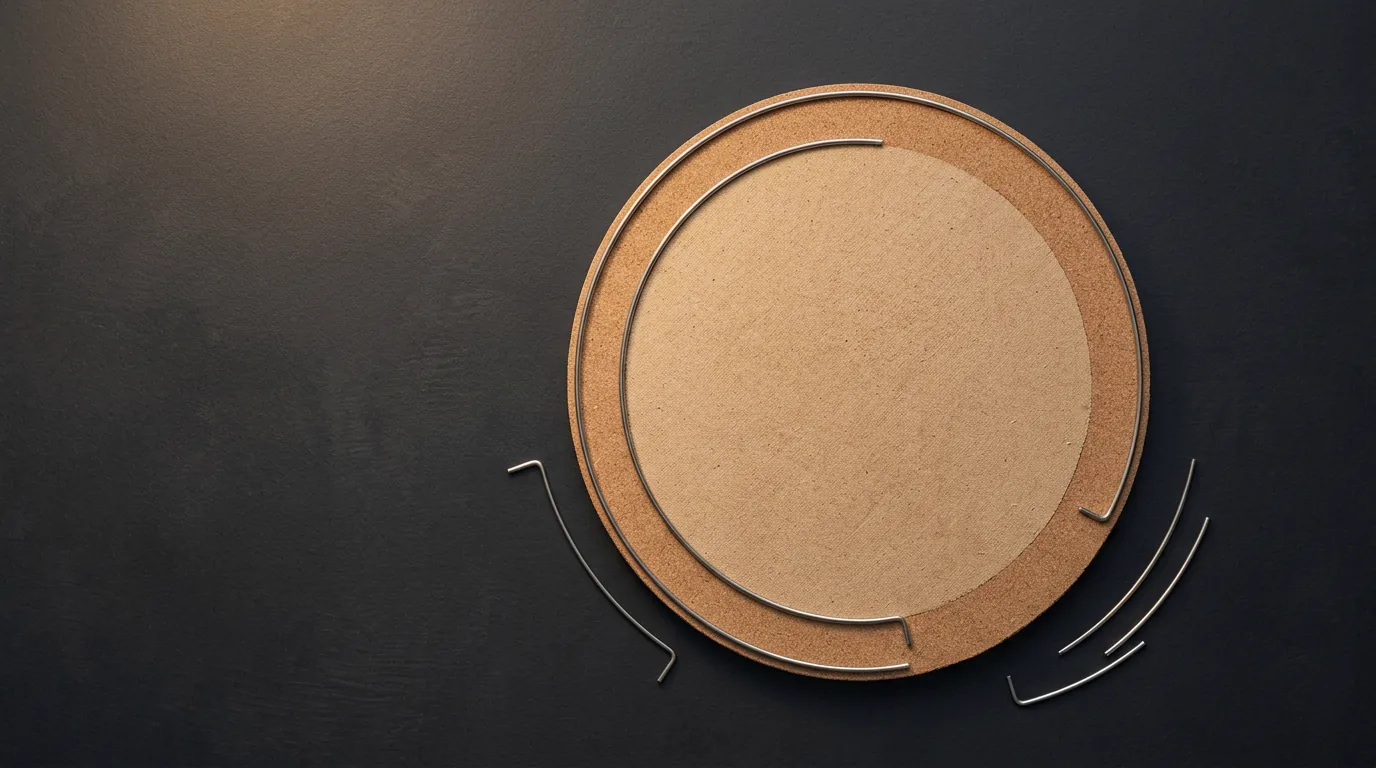
Step 1: Cut the Circle
1
Mark the Circle
Pin in the centre of your cork. Tie a 225mm string to it with a pencil at the other end. Trace a full circle – 451mm diameter.
2
Cut It Out
Use a jigsaw for clean edges. If using a craft knife, score deeply around the line several times, then snap. Do not rush this cut.
3
Sand Smooth
Run sandpaper around the edge until it is smooth and even. An uneven edge makes the board wobble on the wall.
The 451mm diameter is the official tournament size. Use it even for a homemade board – your muscle memory at the oche should match a real board. If your cork is thinner than 38mm, glue two layers together with wood glue and clamp them overnight before cutting.
Step 2: Mark the Segments
This is the step that separates a playable dartboard from a painted disc. Get the measurements right and the board works. Get them wrong and the scoring zones are off.
Place your protractor at the centre pin hole. Each of the 20 segments spans exactly 18 degrees (360 / 20). Mark 20 radial lines from the centre to the outer edge.
Then mark the four rings using the string-and-pencil method at these distances from the centre:
- Bullseye: 6.35mm radius (12.7mm diameter)
- Outer bull: 15.9mm radius (31.8mm diameter)
- Treble ring: inner edge at 99mm, outer edge at 107mm from centre
- Double ring: inner edge at 162mm, outer edge at 170mm from centre
Draw lightly in pencil. These lines guide the wire placement and paint boundaries. Accuracy here determines whether your board scores correctly.
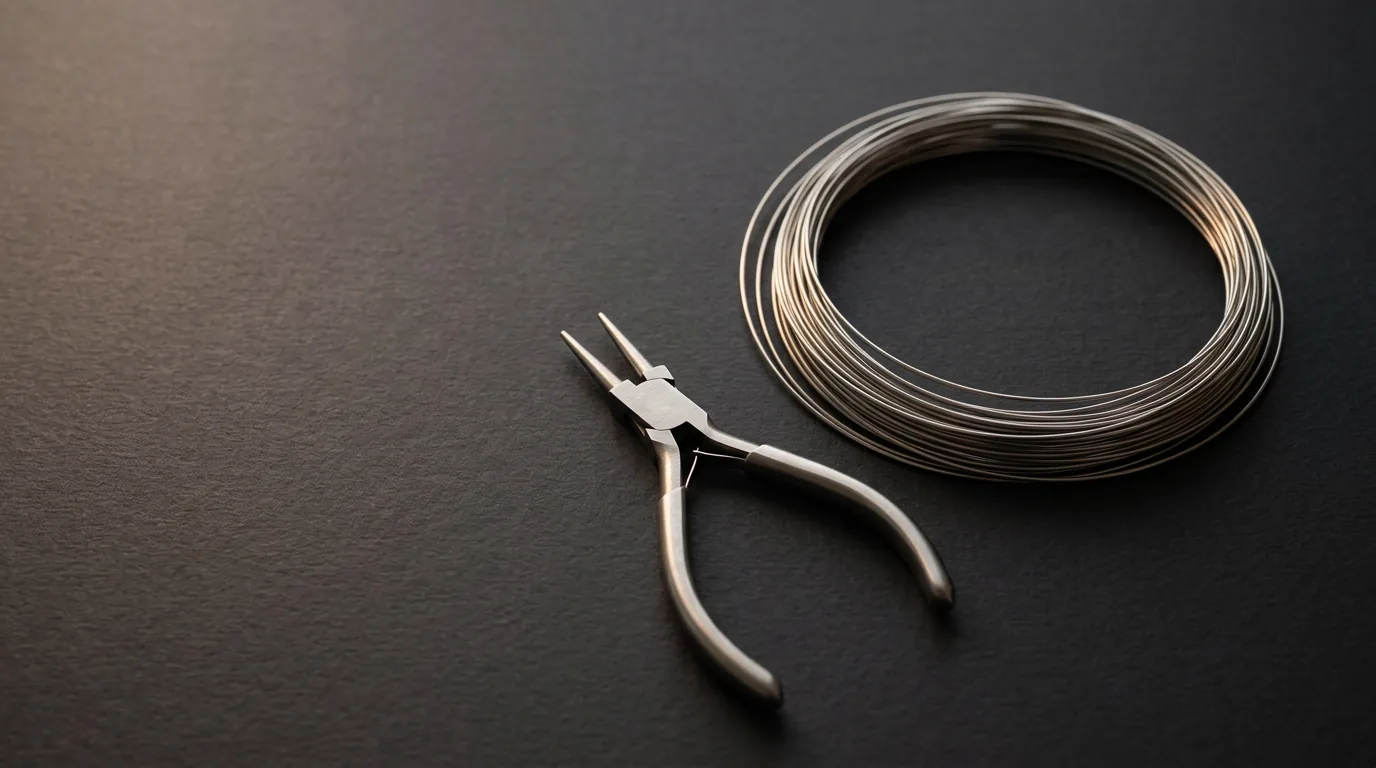
Step 3: Install the Wires
Cut 20 straight wire pieces for the radial segment dividers – each one long enough to run from the outer bull ring to the board edge. Cut 4 circular wire pieces for the bullseye, outer bull, treble ring, and double ring.
Press each wire into the cork along your pencil lines, pushing about 5mm deep. If the cork is soft enough, you can press by hand. If not, use the back of a butter knife to create a shallow channel first, then press the wire in.
Garden wire at 1-1.5mm diameter is ideal. Thinner wire bends too easily. Thicker wire causes more bounce-outs. Bend the circular wires into shape with pliers before pressing them in – trying to bend wire that’s already embedded in cork will tear the surface.
Step 4: Paint the Segments
The standard dartboard colour pattern alternates black and white (or cream) segments. The bullseye is red. The outer bull is green. The treble and double rings follow the same alternating pattern as the segments they sit within.
Run masking tape along both sides of each wire before painting. This gives clean colour boundaries without bleed. Acrylic paint works best on cork – it dries in 20 minutes and does not soak in as much as water-based alternatives.
Apply two coats minimum. Let each coat dry fully before the next. And do not paint over the wires. The exposed metal needs to stay clean so darts deflect off the wire rather than catching on paint.
Step 5: Add the Backing Board
Spread wood glue evenly across the back of the cork disc and press it onto your MDF backing board. Centre it carefully – you only get one shot. Clamp it or stack heavy books on top and leave it overnight.
The MDF adds two things: rigidity (pure cork flexes and can crack when a dart hits hard) and wall protection. Drill a centre hole through both layers for the mounting bracket before the glue dries.
Step 6: Make the Number Ring
Cut a strip of card, thin plywood, or even stiff paper about 25mm wide and long enough to wrap around the board’s outer edge. Mark the 20 numbers in the correct order.
The dartboard number sequence is not random. It is designed so that high numbers sit next to low numbers, punishing inaccurate throws. The order, starting from the top and going clockwise:
20 – 1 – 18 – 4 – 13 – 6 – 10 – 15 – 2 – 17 – 3 – 19 – 7 – 16 – 8 – 11 – 14 – 9 – 12 – 5
Attach the ring with small pins rather than glue. A removable number ring lets you rotate the board periodically, which spreads wear across the surface and extends the board’s life. This is the same principle used on professional sisal boards.
Step 7: Mount It
Bullseye at 1.73m (5ft 8in) from the floor. This is the official height used in every PDC tournament. Use a spirit level to make sure the 20 sits at the top.
Throw from 2.37m (7ft 9.25in). For detailed mounting instructions, diagonal measurements, and floor protection tips, see our full dartboard setup guide.
Step 8: Throw
Your homemade dartboard is ready. The cork will not self-heal like sisal – every dart hole stays. But for casual games, practice scoring, and the pub-quiz-level satisfaction of saying “I made that,” it works.
Rotate the number ring every few weeks to spread the wear. The treble 20 area takes the most punishment, so rotating moves the heavy-use zone to fresh cork.
KEY TAKEAWAY
A DIY cork dartboard is a weekend project, not a competition replacement. But it teaches you more about how dartboard scoring works than any shop-bought board ever will.
SCOUT’S TAKE
Build one for the fun of it. Hang it in the garage, the shed, or the garden. But when you want to practice properly, buy a sisal board. A Winmau Blade 6 costs £40 (~$52) and will outlast any cork build by years. The DIY board is a project. The sisal board is equipment.
Frequently Asked Questions
Can I use wine corks instead of cork board?
Yes, but you need 200+ corks cut in half and glued to a circular MDF backing with hot glue. The result is more decorative than functional – cork density varies between corks, so darts stick unevenly. It looks great on a games room wall but it is not something you would practise on.
How long will a homemade dartboard last?
Three to six months of regular use. Cork does not self-heal the way sisal does. Every dart hole stays, and the surface gradually breaks down around the treble 20 area first. Rotating the number ring extends the life but does not prevent it. A £35 (~$45) sisal board lasts 1-5 years.
What is the correct dartboard number order?
Starting from the top and going clockwise: 20, 1, 18, 4, 13, 6, 10, 15, 2, 17, 3, 19, 7, 16, 8, 11, 14, 9, 12, 5. This sequence is standardised worldwide and designed so that high-scoring segments are flanked by low-scoring ones.
Ready to upgrade to a proper board? Read our guide to choosing a dartboard for sisal options at every price point. For mounting, see how to set up a dartboard. To protect your wall from stray throws, check our surround and lighting guide. And for a complete room setup from budget to premium, read home darts setup. Or take our dart recommendation quiz to find the right darts for your new board.