QUICK ANSWER
Bullseye at 1.73 m, oche at 2.37 m, mount flush to the wall.
The centre of the bullseye sits 1.73 m (5 ft 8 in) from the floor. The throwing line – the oche – is 2.37 m (7 ft 9¼ in) from the face of the board, not the wall. A diagonal check of 2.93 m (9 ft 7½ in) from bullseye to oche confirms both measurements are correct. This guide covers every step, from choosing hardware to rental-friendly no-drill options.
Learning how to set up a dartboard correctly is one of the most important steps for any beginner. A board hung at the wrong height or an oche placed at the wrong distance means every practice session trains muscle memory for measurements that will not match any pub, league, or tournament you walk into. The fix takes about thirty minutes and costs nothing beyond the bracket that ships with every board.
This guide explains how to set up a dartboard using the official measurements set by the World Darts Federation (WDF), walks through mounting step by step, and covers no-drill alternatives for renters. Every measurement is given in both metric and imperial.
Official Dartboard Measurements
The WDF, the PDC, and every national darts organisation use the same core measurements. These have not changed in decades. Garage, spare bedroom, or competition venue – these are the numbers that matter.
| Measurement | Steel Tip | Soft Tip / Electronic |
|---|---|---|
| Bullseye height (floor to centre) | 1.73 m / 5 ft 8 in | 1.73 m / 5 ft 8 in |
| Throwing distance (face of board to oche) | 2.37 m / 7 ft 9¼ in | 2.44 m / 8 ft 0 in |
| Diagonal (bullseye to oche) | 2.93 m / 9 ft 7½ in | 2.98 m / 9 ft 9½ in |
| Board diameter | 45.72 cm / 18 in | 45.72 cm / 18 in |
Wheelchair players use a bullseye height of 1.37 m (4 ft 6 in) with the same 2.37 m throwing distance. This is the official WDF wheelchair specification.
KEY TAKEAWAY
The throwing distance is measured from the face of the dartboard, not the wall. A wall-mounted board sits roughly 3–4 cm proud of the wall surface. If you measure from the wall, your oche will be too close by that margin.
What You Need Before You Start
Most bristle dartboards ship with a mounting bracket kit. If yours did not, or if you are replacing a worn bracket, you need the following:
1
Hardware
Mounting bracket, centre screw, wall plug and screw (or toggle bolt for plasterboard). A spirit level.
2
Measuring Tools
A tape measure (at least 3 m), a pencil, and a piece of string for the diagonal check.
3
Protection
A dartboard surround or backboard to protect the wall from stray darts. Optional but strongly recommended.
Step-by-Step: How to Set Up a Dartboard
Once you know how to set up a dartboard properly, the entire process takes about twenty to thirty minutes. Follow these five steps in order.
Step 1 – Mark the Bullseye Height
Measure 1.73 m (5 ft 8 in) from the floor and make a pencil mark on the wall. Mark this point – the centre of the bullseye will sit here. Use a spirit level to make sure the mark is accurate – especially important on older properties where floors slope.
If you are mounting to a stud wall, use a stud finder to locate the nearest stud to your mark. Ideally, the bracket screw goes directly into a stud for maximum strength. If no stud is available, use a heavy-duty wall plug or toggle bolt rated for at least 15 kg.
Step 2 – Fix the Mounting Bracket
Most dartboards include a U-shaped metal bracket. The bottom of this bracket aligns with your 1.73 m pencil mark. Drill a pilot hole, insert the wall plug, and screw the bracket into place. Check it is level and firm – a loose bracket will cause the board to wobble when darts land.
Some boards use a different system: three plastic spacers nailed into the back of the board, plus a central bolt. The spacers keep the board flush against the wall while the bolt hangs on the bracket. Either way, the goal is the same – the board must sit flat against the wall with no forward lean.
Step 3 – Hang the Board with 20 at the Top
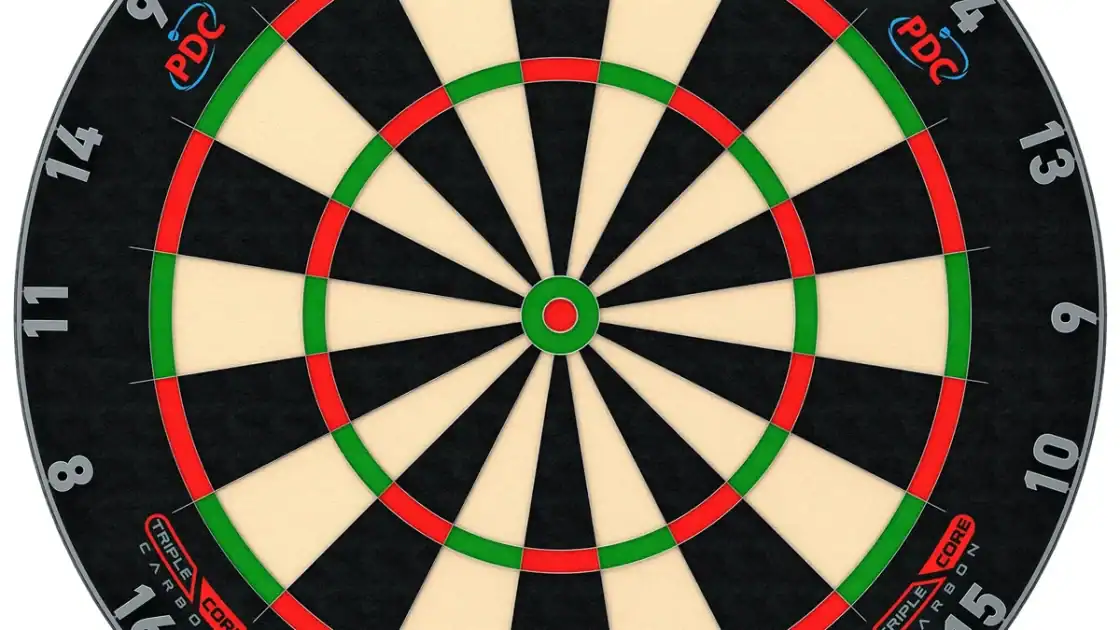
Place the dartboard onto the bracket. Rotate it so the 20 segment is at the top, directly at twelve o’clock. The 20 segment is always black – if you see a coloured segment at the top, the board is rotated incorrectly.
Give the board a firm press to confirm it sits flush. Step back and check visually that it is not tilted. A tilted board changes the effective height of every segment and makes your practice inconsistent with any properly mounted board.
Step 4 – Mark the Oche (Throwing Line)
Measure 2.37 m (7 ft 9¼ in) from the face of the dartboard along the floor. Mark this line with tape or a raised oche strip. Remember: measure from the front surface of the board, not the wall behind it.
For casual play, a strip of masking tape across the floor works perfectly. For a more permanent setup, a thin wooden strip (38 mm high, at least 610 mm wide) screwed or taped to the floor matches official oche specifications. Commercial rubber oche mats are also available and protect both the floor and your dart points.
Step 5 – Verify with the Diagonal Measurement
This step catches errors in the first four. Tie a piece of string to the centre of the bullseye and measure 2.93 m (9 ft 7½ in) down to the floor at the oche. If the string lands exactly on your throwing line, both your height and distance are correct.
The diagonal works because the bullseye height and throwing distance form two sides of a right-angled triangle. The diagonal is the hypotenuse. According to TheDartScout’s calculation using the Pythagorean theorem: √(1.73² + 2.37²) = √(2.993 + 5.617) = √8.610 = 2.934 m, which the WDF rounds to 2.93 m.
This method is particularly useful when floors are uneven. A sloping floor can make a horizontal tape-measure reading inaccurate, but the diagonal from bullseye to oche is unaffected by floor gradient.

SCOUT’S TAKE
The diagonal check is the single most reliable verification step, and most beginners skip it. I have seen boards hung at roughly the right height with the oche roughly in the right place – and the diagonal off by 8 cm. That is enough to change your throwing arc noticeably. Take the extra sixty seconds. It is the difference between a setup that matches every competition venue and one that trains bad habits.
How to Mount a Dartboard Without Drilling
Renters and anyone who cannot drill into their walls have several options. None are as stable as a proper wall mount, but some come close.
Dartboard Stand
A freestanding metal stand holds the board at the correct height with no wall contact at all. This is the best no-drill option for regular play. Stands are adjustable, portable, and stable enough for bristle boards. They cost £30–80 (~$40–100) and fold for storage. The trade-off is floor space – expect the base to extend roughly 60 cm forward and sideways.
Plywood Backboard Leaned Against the Wall
Screw the mounting bracket into a large plywood sheet (at least 90 × 90 cm) and lean it against the wall. Gravity and the weight of the board keep it in place. This doubles as wall protection and costs under £15 (~$20) from any timber merchant. It is not as rigid as a wall mount, but it works well for light to moderate play.
A Note on Command Strips
Heavy-duty adhesive strips can technically support the static weight of a dartboard (4.5–5.5 kg for a standard bristle board). But according to TheDartScout’s assessment, they are not suitable for regular play. Every dart that hits the board sends a small shock through the mount. Over weeks of use, repeated impacts loosen the adhesive bond, and the board can fall without warning. If you must use adhesive mounting, limit it to lightweight electronic boards used occasionally.
Protecting the Wall Around Your Board
Stray darts happen, especially while learning. Wall protection is not optional if you value your plaster. Here are the main options, ranked by cost and effectiveness.
| Option | Cost | Protection | Notes |
|---|---|---|---|
| EVA foam surround | £8–15 (~$10–20) | Good (ring around board) | Fits snugly, no tools needed, most popular choice |
| Cork tiles | £10–20 (~$13–25) | Good (custom area) | Glue to wall, cut to any size, absorbs impacts well |
| MDF + cork backboard | £15–30 (~$20–40) | Excellent (full coverage) | More permanent, doubles as mounting surface |
| Rubber matting | £10–25 (~$13–30) | Good | Cut to size, heavy-duty, industrial look |
| Pallet wood | Free–£5 | Moderate | Rustic look, widely available, may need sanding |
A foam surround is the simplest solution for most players. It slides over the board with no tools, catches stray darts within roughly 10 cm of the board edge, and costs less than a set of flights. For a dedicated darts area, a full MDF backboard covered in cork gives the best protection and a clean, professional look.
Room Requirements and Safety
A dartboard needs more space than most people expect. The minimum play area recommended by the WDF is roughly 1.5 m (5 ft) of clearance on each side of the board and at least 3.35 m (11 ft) of depth from the wall to about a metre behind the oche. This gives the thrower room to stand comfortably and keeps bystanders out of the flight path.
Never mount a dartboard near windows, mirrors, or doorways where someone could walk between the oche and the board. Bounce-outs are inevitable – steel-tip darts that deflect off wire segments can travel a surprising distance. If children or pets use the room, consider a lockable cabinet setup or remove darts from the area when not in use.
Common Setup Mistakes
These are the errors that come up most often in forum discussions and beginner questions. Each one is easy to avoid if you know to look for it.
Measuring from the wall
The oche distance is from the face of the board, not the wall. A wall-mounted board sits 3–4 cm proud. Measuring from the wall puts the oche too close.
Wrong segment at the top
The 20 must be at twelve o’clock, and it is always a black segment. A red or white segment at the top means the board is rotated.
Board leaning forward
The board must sit flush against the wall, not tilted forward. A lean changes the effective target area and causes darts to bounce out more often.
Skipping the diagonal check
The diagonal catches compounding errors. Even small mistakes in height and distance can combine to produce a setup that is significantly off spec.
Lighting and Surroundings
Good lighting makes a measurable difference to scoring accuracy. The board should be evenly lit with no shadows across the face. A dedicated dartboard light – a ring-shaped LED that mounts around or above the board – is the best solution. Overhead room lights tend to cast the player’s shadow onto the lower segments.
Position the scoreboard to one side of the board, within arm’s reach of the oche, so you do not have to walk to the board between throws. A simple whiteboard or phone app works for casual play. For a full home setup guide including lighting, surrounds, and scoring, see our home darts setup guide.
Frequently Asked Questions
What is the official dartboard height?
The official height is 1.73 m (5 ft 8 in) from the floor to the centre of the bullseye. This measurement is the same for both steel-tip and soft-tip dartboards and is set by the World Darts Federation.
How far should you stand from a dartboard?
For steel-tip darts, the throwing distance is 2.37 m (7 ft 9¼ in) from the face of the board to the oche. For soft-tip or electronic boards, it is 2.44 m (8 ft). Always measure from the front surface of the board, not the wall.
What is the diagonal distance and why does it matter?
The diagonal is 2.93 m (9 ft 7½ in), measured from the centre of the bullseye to the oche on the floor. It is the hypotenuse of the right-angled triangle formed by the bullseye height and throwing distance. If your diagonal is correct, both your height and distance are confirmed in a single measurement. This is particularly useful on uneven floors where a horizontal tape measure can give misleading readings.
Can you hang a dartboard with command strips?
Technically, yes – heavy-duty adhesive strips can support the static weight of a dartboard. In practice, the repeated impact of darts loosens the adhesive over time, creating a risk of the board falling. A dartboard stand or a plywood backboard leaned against the wall are safer no-drill alternatives for regular play.
How do you set up a dartboard in an apartment without drilling?
The best rental-friendly option is a freestanding dartboard stand, which holds the board at the correct height with no wall contact. Alternatively, screw the board’s mounting bracket into a large plywood sheet and lean it against the wall – gravity keeps it in place, and you take it with you when you move.
Do steel-tip and soft-tip dartboards use the same measurements?
The bullseye height is the same (1.73 m), but the throwing distance differs. Steel-tip boards use 2.37 m; soft-tip boards use 2.44 m. The diagonal also changes accordingly: 2.93 m for steel tip, 2.98 m for soft tip.
For any unfamiliar terms, see the darts glossary. For help choosing a board, read how to choose a dartboard. To protect your walls, see surround and lighting. For a full budget breakdown, check home darts setup. For game rules, read dart rules explained. New to darts? Start with our beginner’s guide. For housing your board, see our best dartboard cabinet guide.